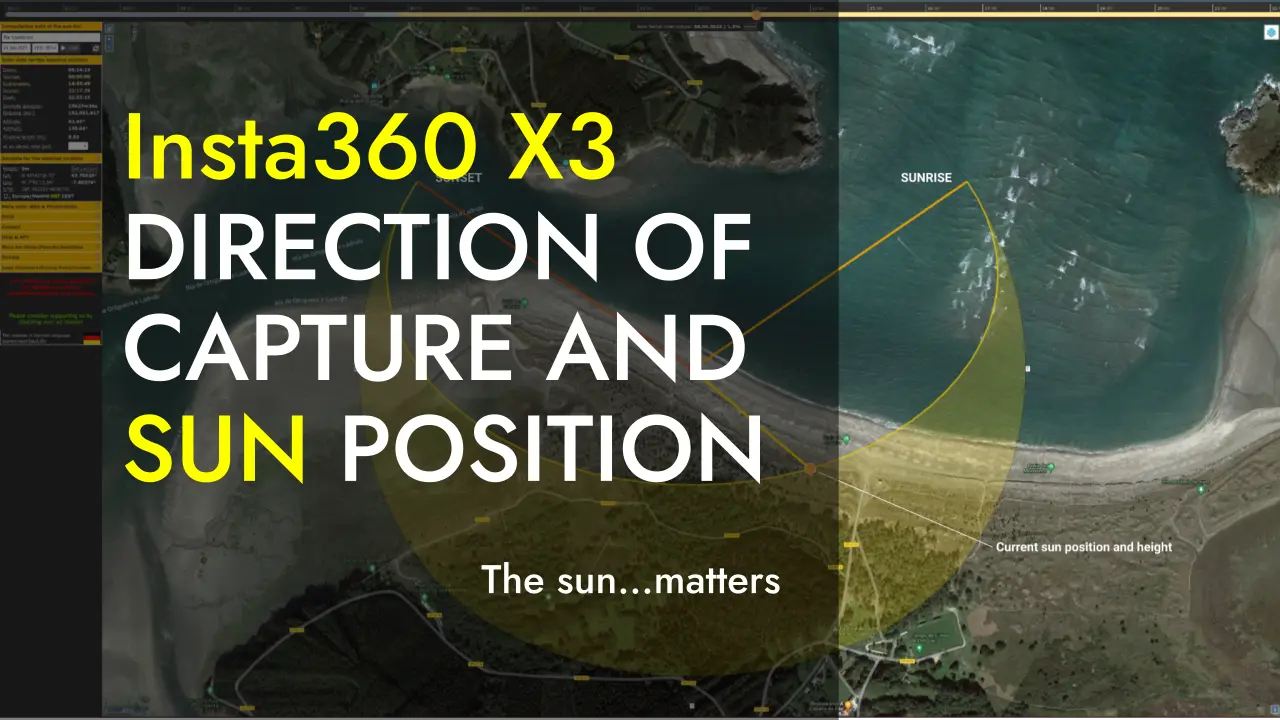
360 Photography and Sun Position: Lessons from Ortigueira
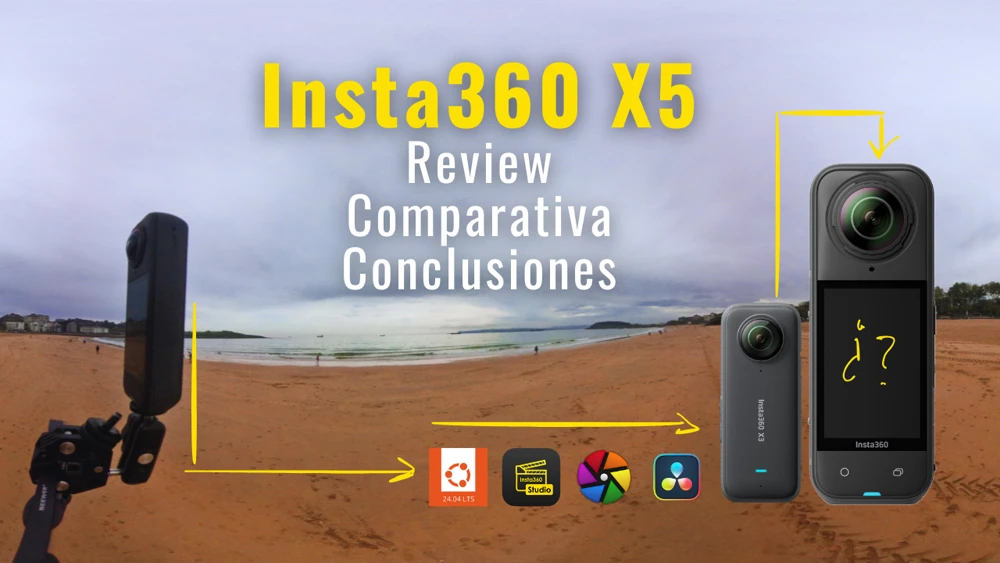
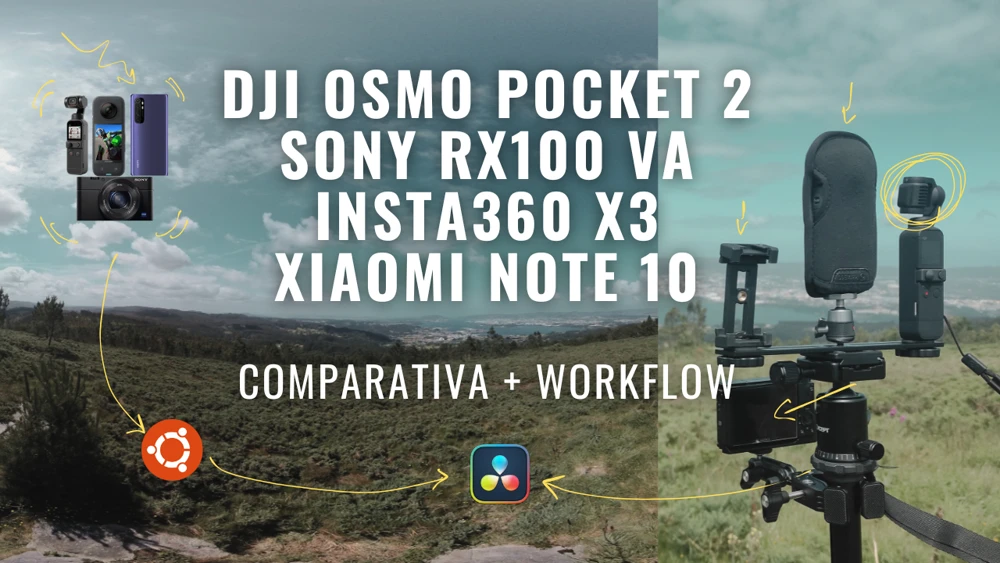
Taking 360-degree photographs with a camera like the one used for capturing the material in this post (Insta360-X3) can be as simple as point-and-shoot. However, that's a big mistake. The environment in which we take these photos can significantly impact their quality. Do you know where to place the sun using a 360 camera? Content:Taking 360-degree photographs with a camera like the one used for capturing the material in this post (Insta360-X3) can be as simple as point-and-shoot. However, that’s a big mistake. The environment in which we take these photos can significantly impact their quality. Do you know where to place the sun using a 360 camera? In this case, we’ll briefly analyze how the direction of the camera’s lenses and the position of the sun influence the results. So let’s break it down.
The Location
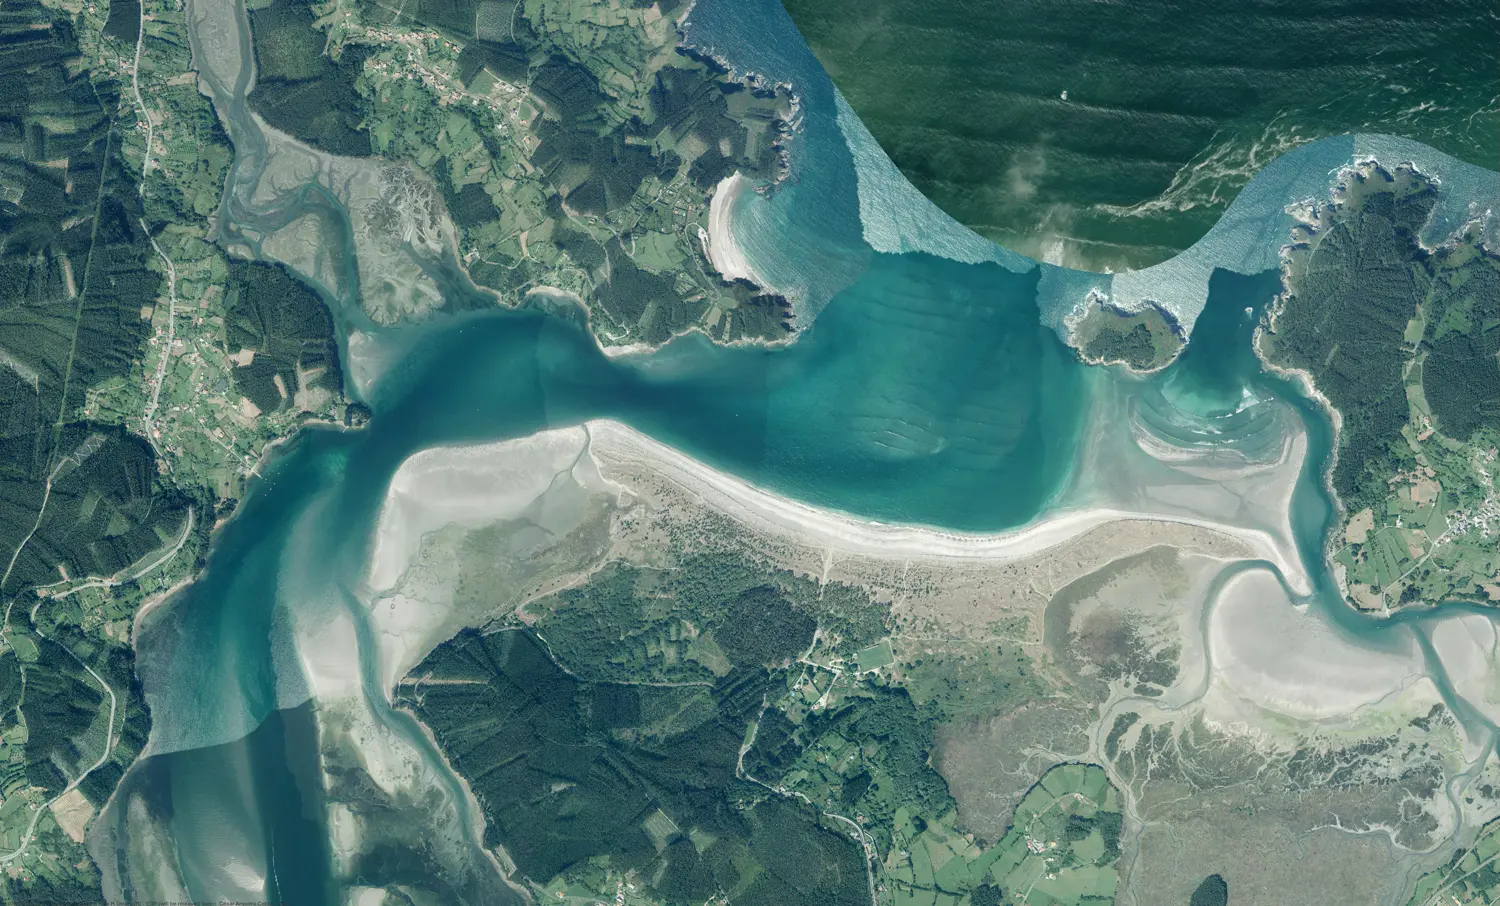
The pictures were taken during a walk in a wonderful place called Ortigueira. If you’ve never been there, please visit to witness paradise. The photo captures were positioned in the middle of the beach, at the point shown in these pictures:
Picture of the position
Outer Conditions
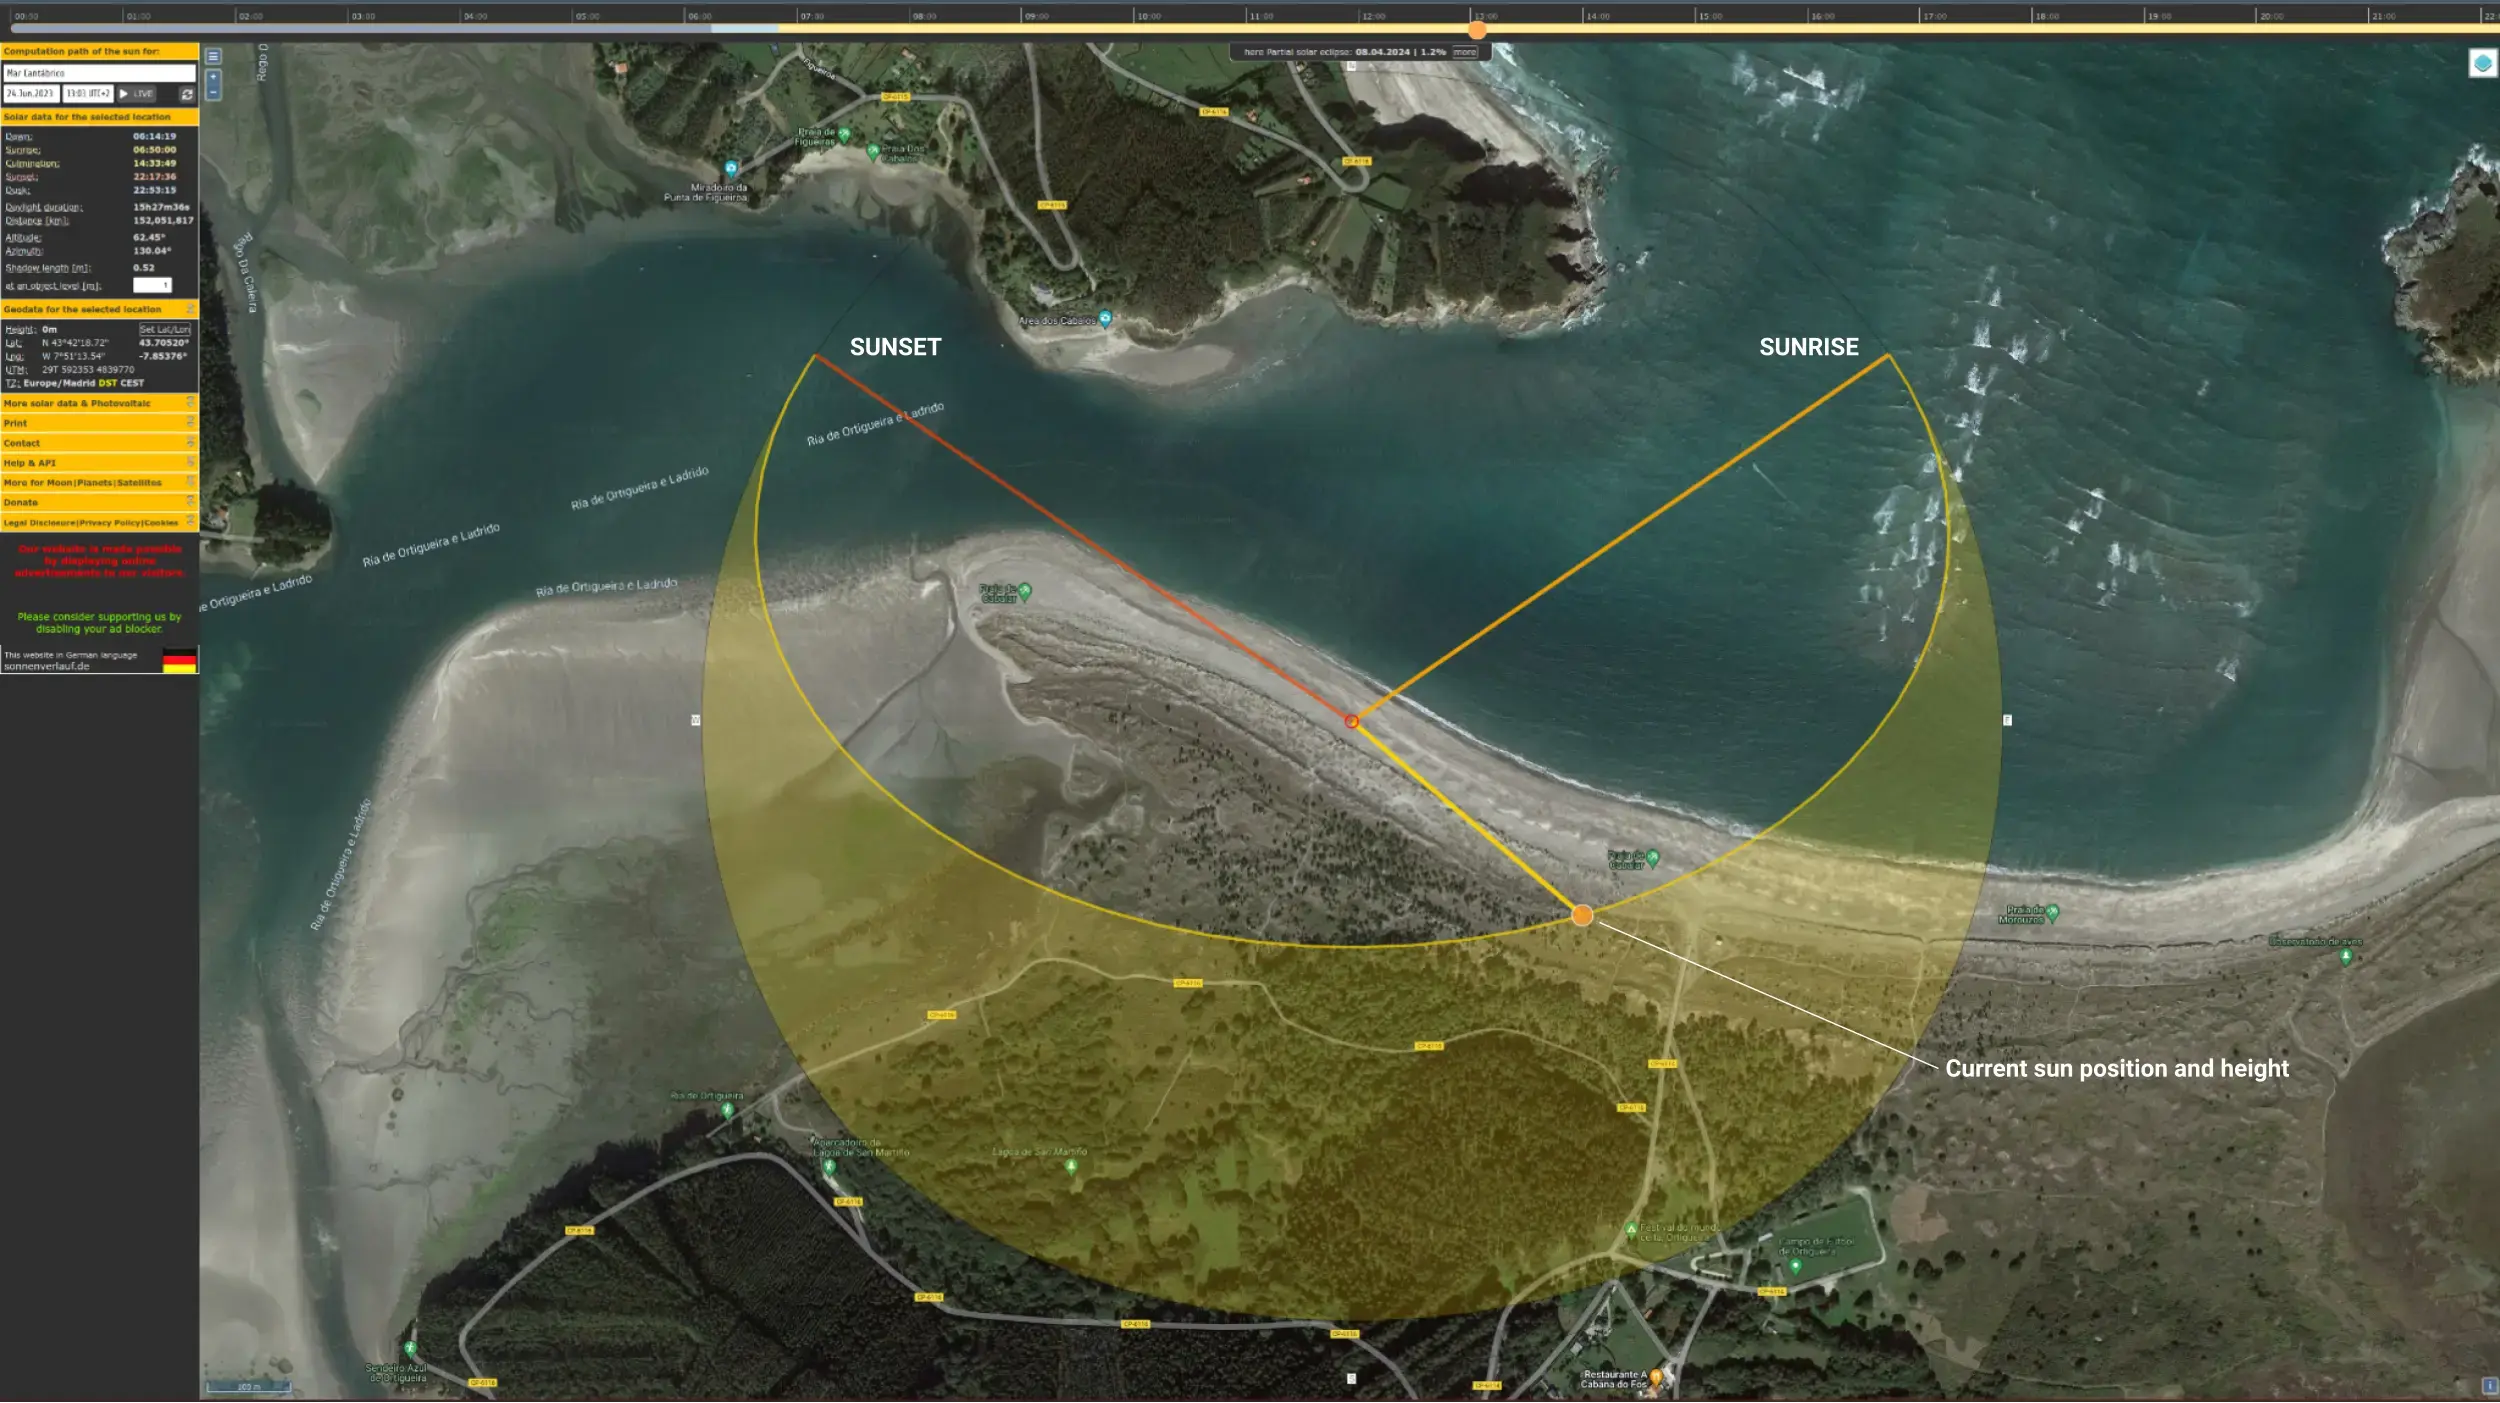
As seen in the pictures, it was a sunny day when the captures were taken on June 24, 2023. This day is celebrated as San Juan’s Day in Spain, San Xoan in Galicia, and Midsummer or St. John’s Eve in other places. The crucial aspect here is the time of the captures, around 13:30, which allows you to precisely determine the sun’s position using the helpful tool called SunCalc. It works astonishingly well .
Inner Conditions
The camera was set to fully automatic capture mode. I know that for this kind of test, a manual approach would have been better, but life is never perfect. Nevertheless, with good weather conditions, there should be no problem with shutter speed, white balance, etc. The camera was also set to capture raw and pure shots. You can check this, this, this or this to see that the pureshot shots are well-suited for this purpose. The pictures were taken using a self-stick of approximately 1.2 meters, and the camera was tilted upwards to capture the sky.
An important detail is that the camera has front and back lenses. The front lens will always be the one opposite to the screen where you control the camera, just like any other camera. So, the back lens is the one in front of you on the same side as the screen. Easy. As shown in this image, the direction means that the front lens is facing that way. There’s nothing fancy here; it’s the normal way to use the camera, but I wanted to specify this.
Another important note is that I had the lens cover on, which specifically affects the reflections of the sun into the lenses. I’m not a big fan of the effect on the pictures, but the beach is a perfect place to accidentally scratch your lenses.
The Shots
I took 4 shots in the order and directions shown in the image below. I used the beach’s shape as a reference, without using a compass or any other tool. It would have been interesting to test this with the exact sun position, as many photographers prefer. However, the shots are more or less coincident with the sun’s position, which is good. These are the shots:

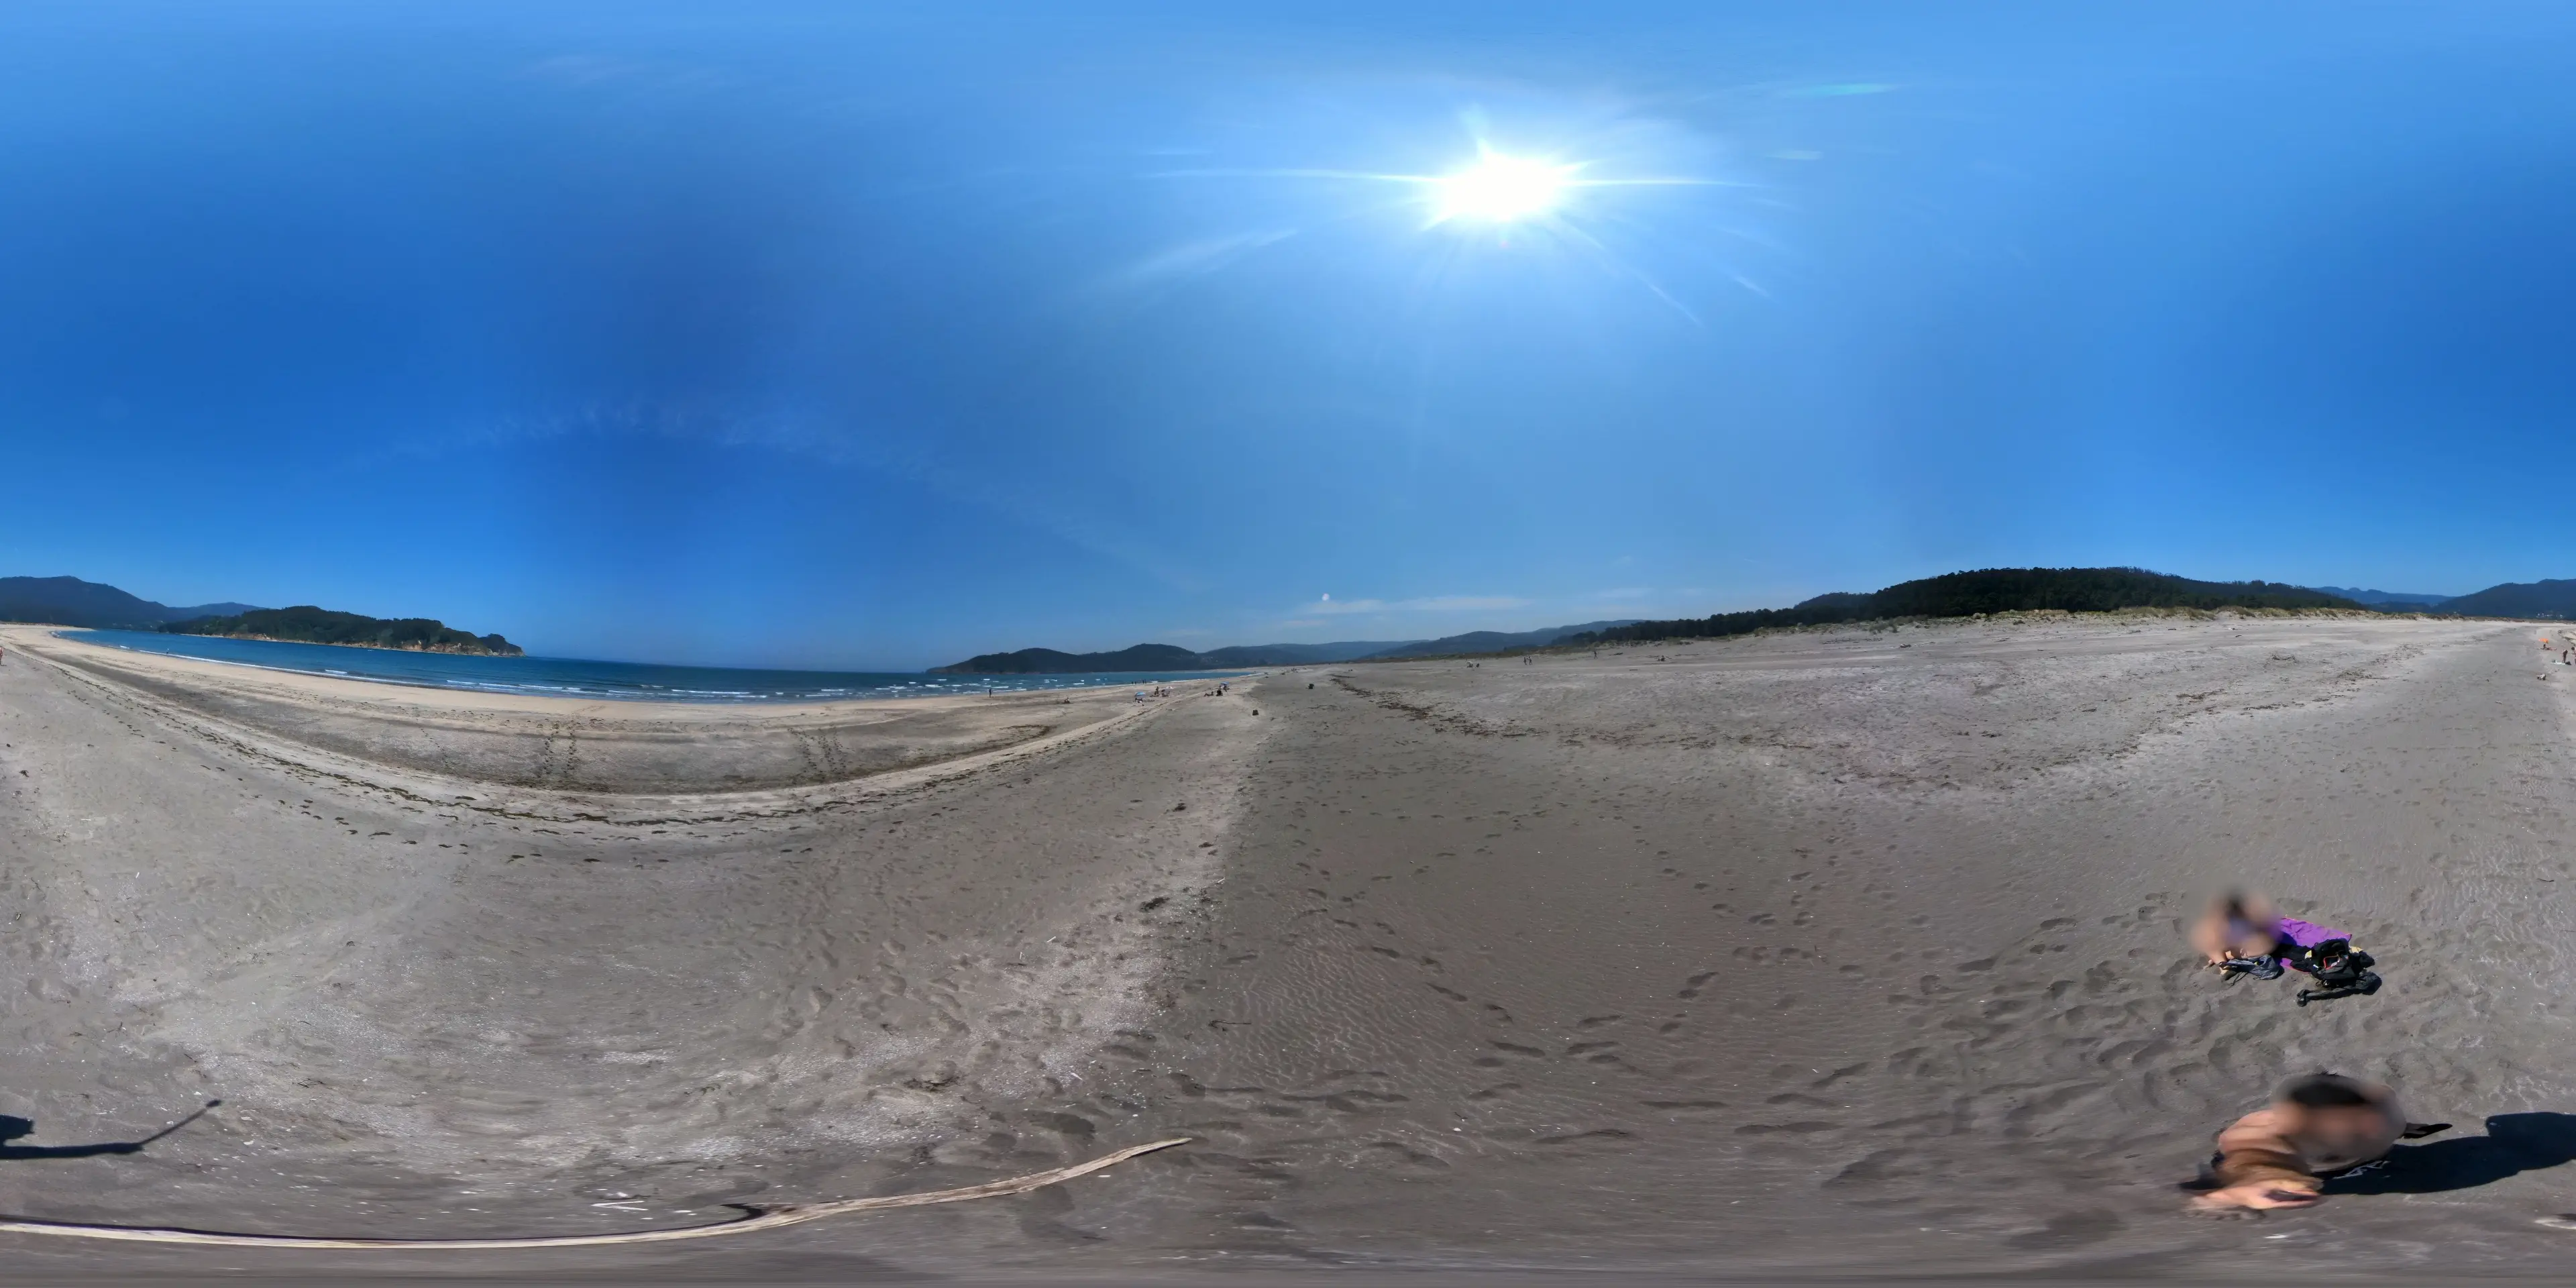
- Framing the sea in the front lenses. The sun’s position is on the right side of the camera, entering the back lens.
- Framing the mountains in the background. The sun is slightly to the front, sliding a little to the right side of the front lens.
- Framing the dune and leaving the sea behind. The sun is on the left side of the front lens in this case.
- Framing the entrance of the sea on the coast. The sun, in this case, is fully behind, entering the back lens.
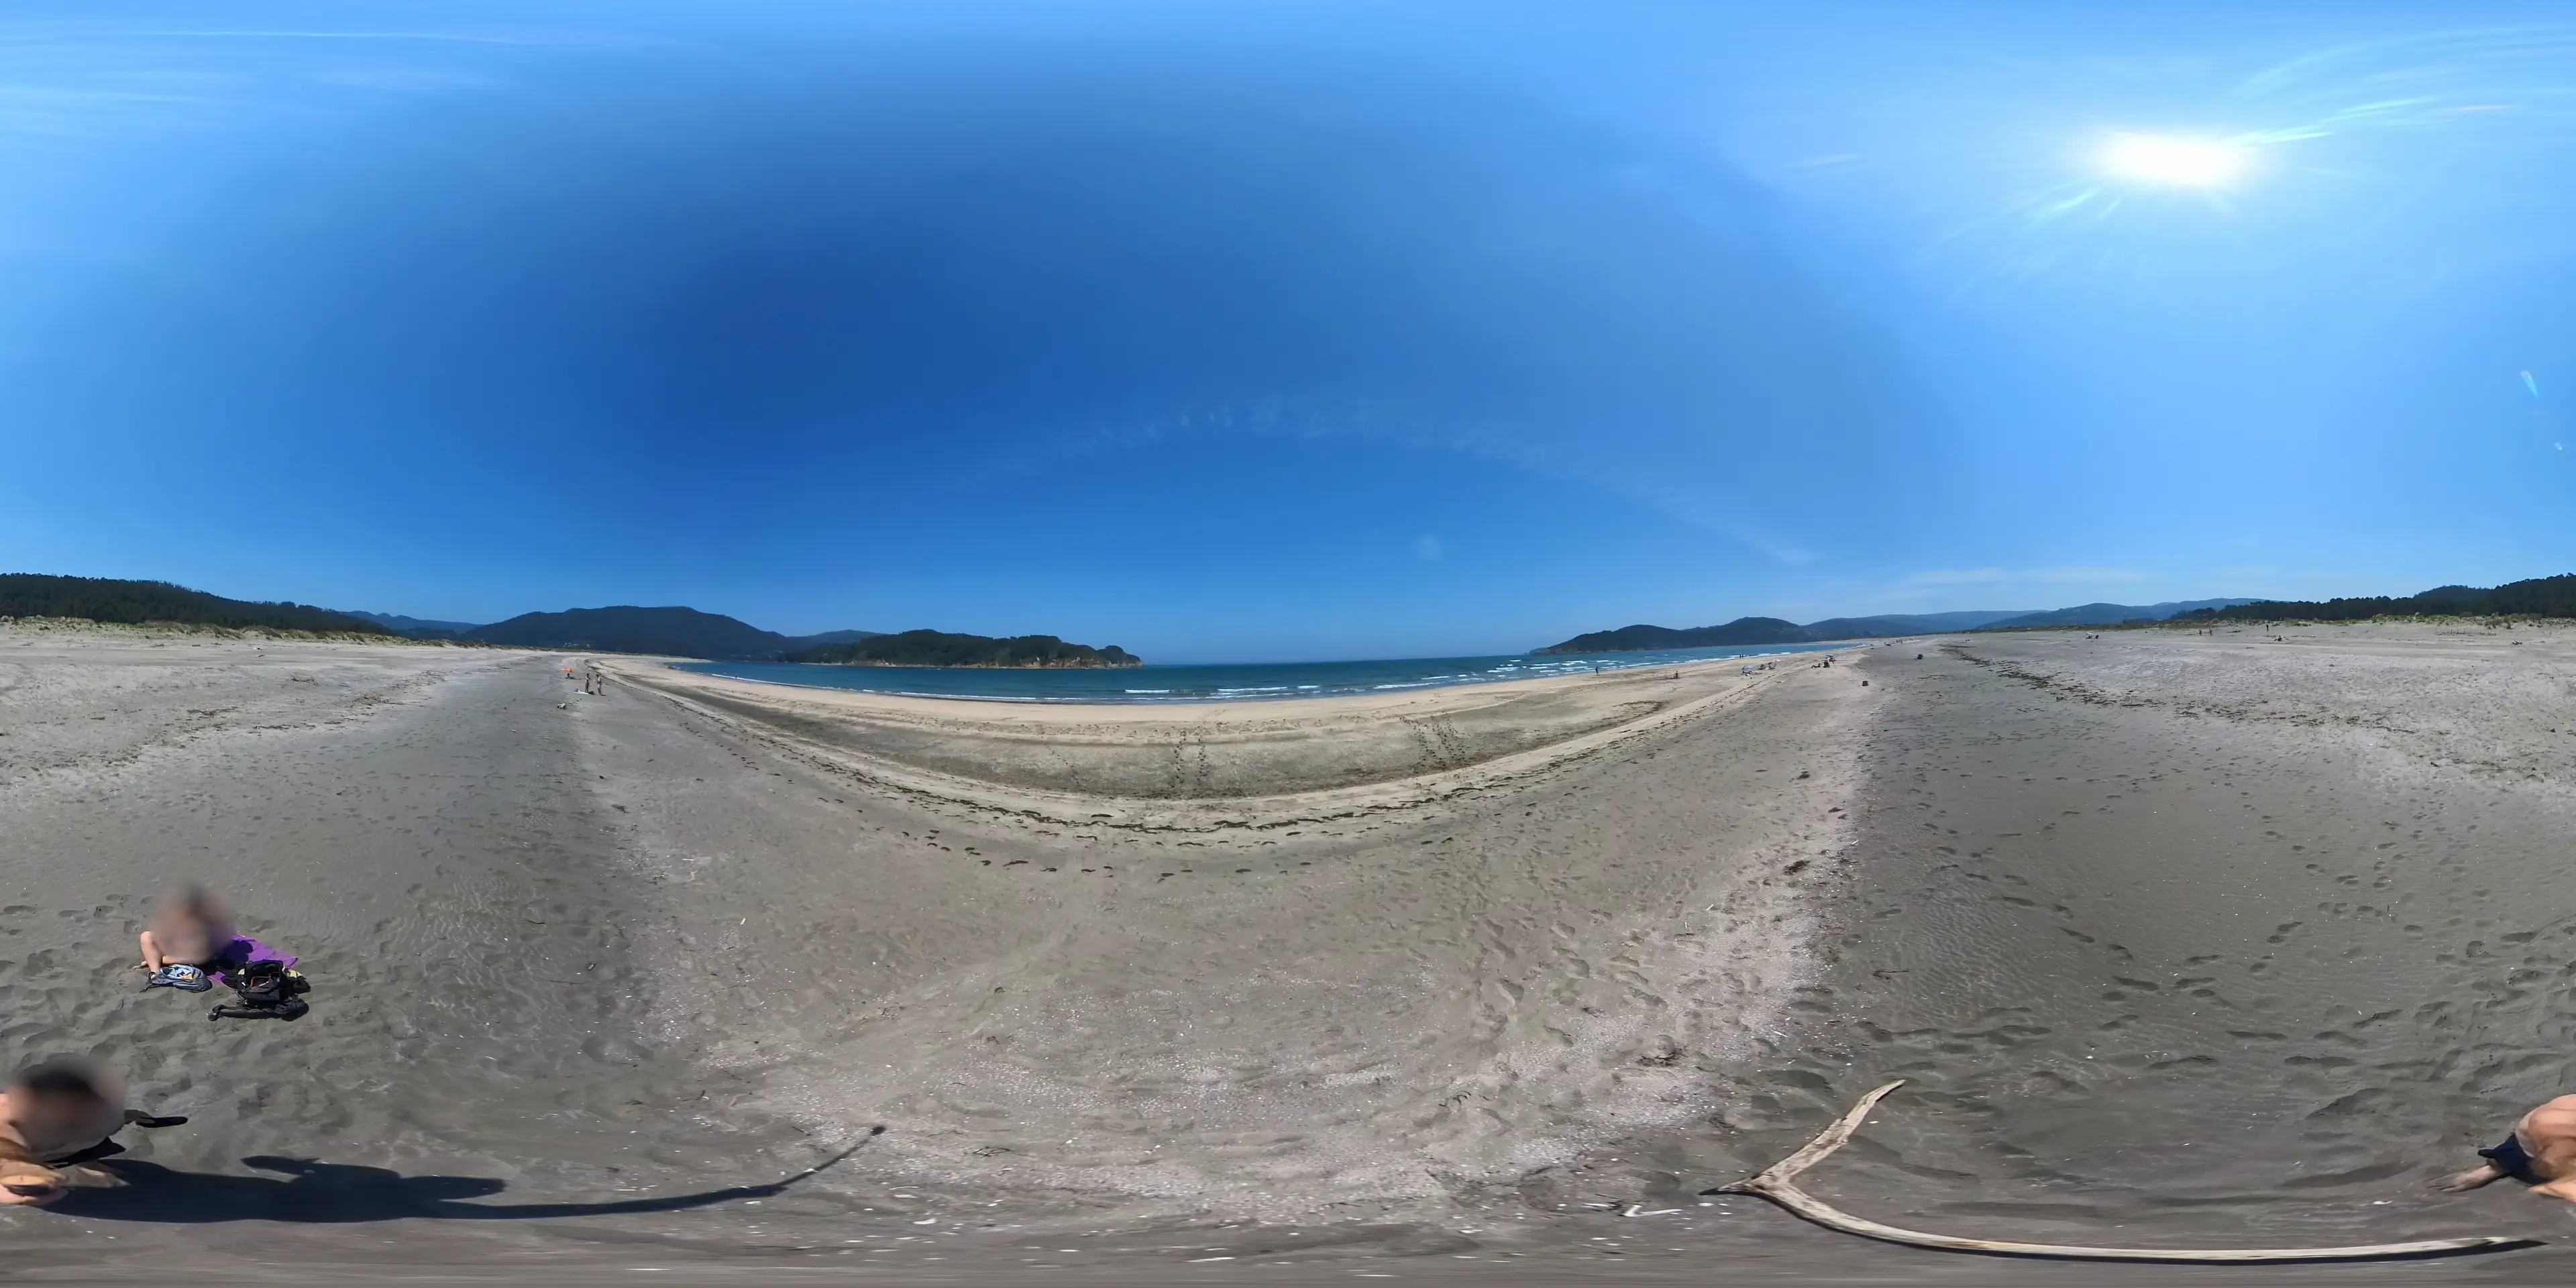
Insta360-x3 - Photo 1
Insta360-x3 - Photo 2
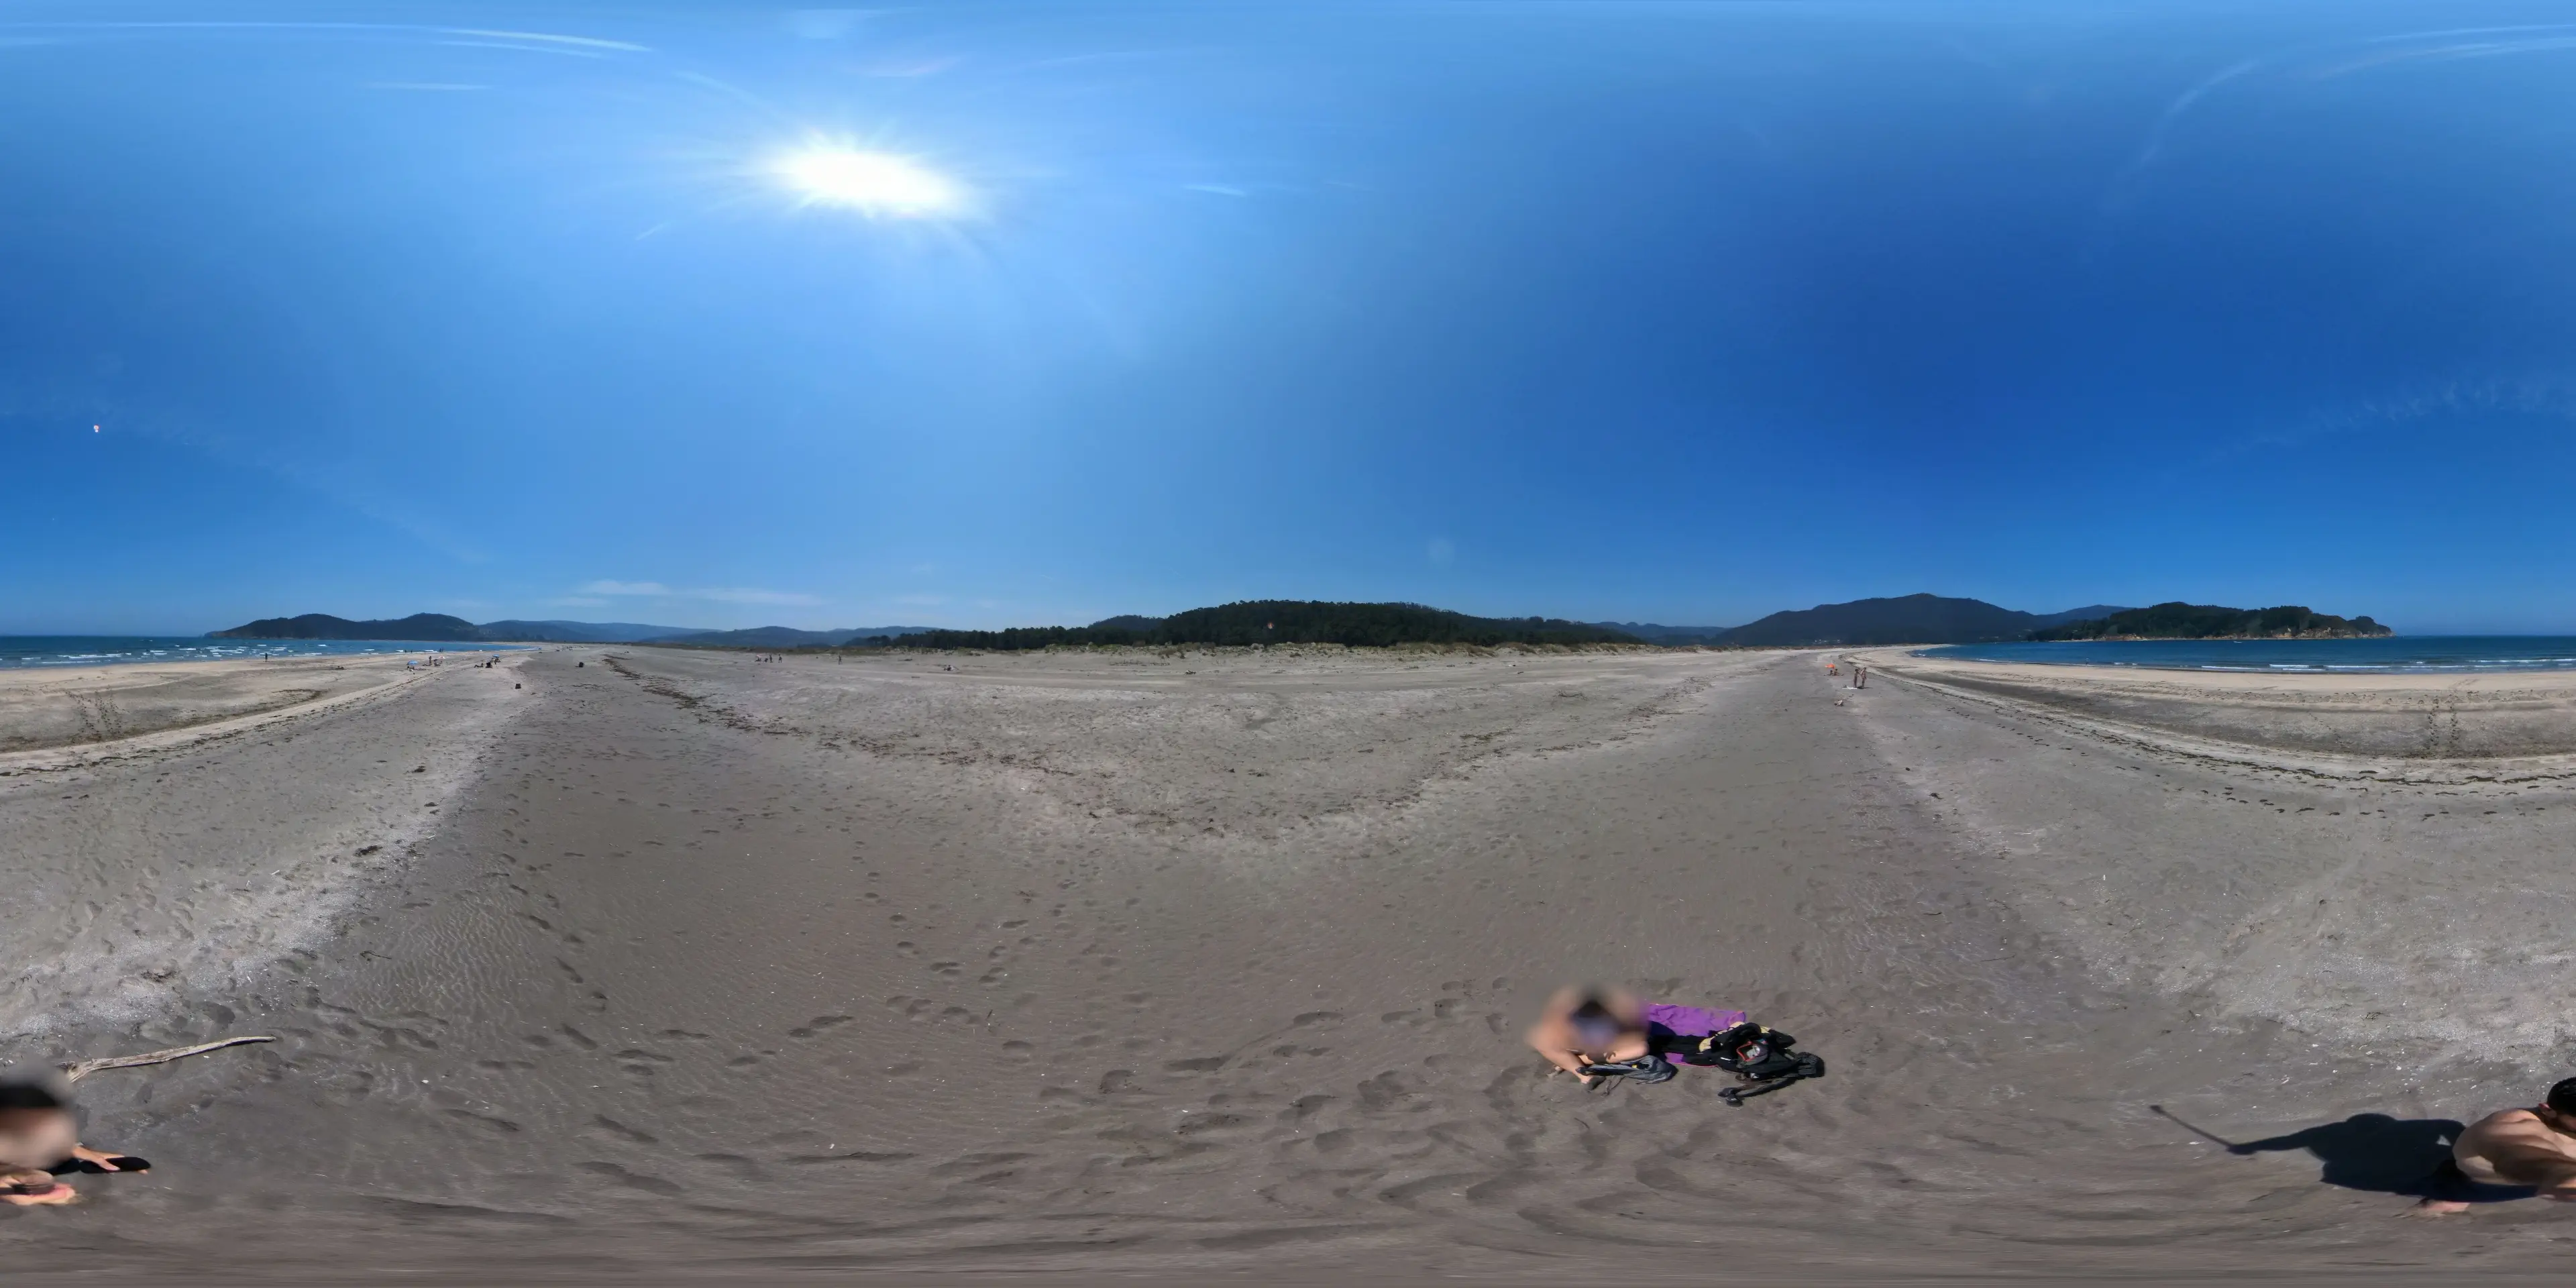
Insta360-x3 - Photo 3
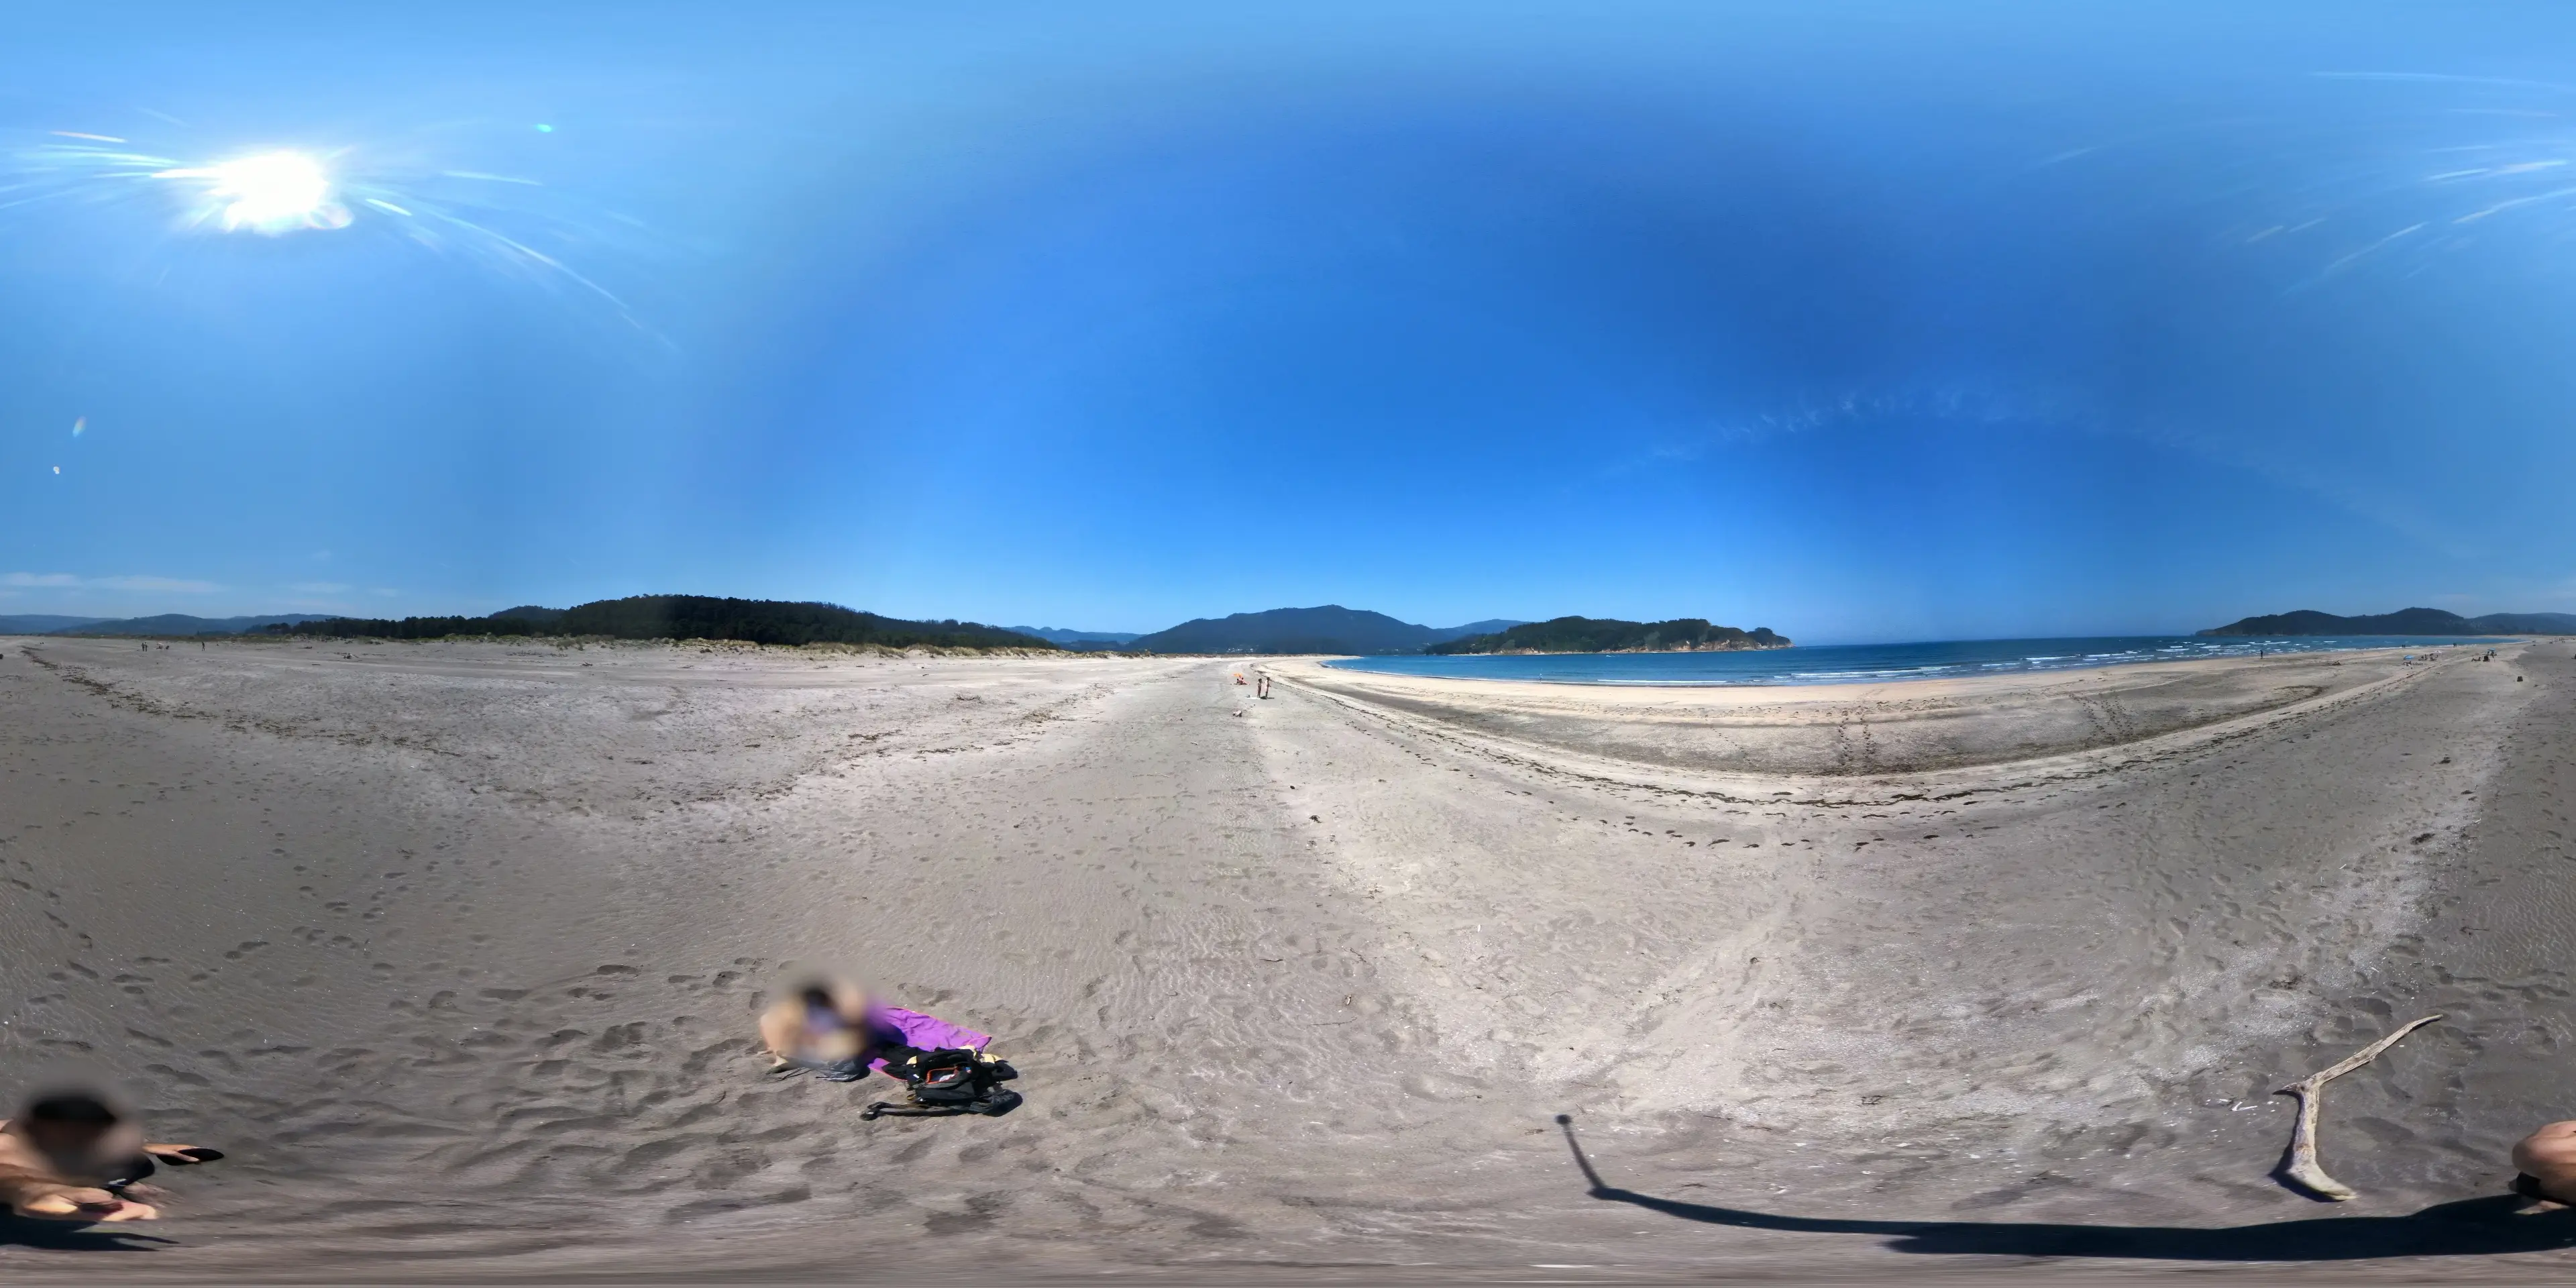
Insta360-x3 - Photo 4
Before analyzing the differences and selecting the best picture, I must mention that people who use this camera usually advise leaving the sun to one side, trying to put it just in the part where the stitching occurs. Some say you should leave it behind. I haven’t found anyone yet who claims that the best modus operandi is putting the sun just in front. So let’s see our results.
Leaving the sun to the side, slightly towards the back lens, gives a decent result. Elements are generally well illuminated. The only problem I see is that obscure part in the front lens. It seems that the sun is causing some shadow there. It could be because of the camera’s own characteristics. Further investigation might be necessary.
Putting the sun just in front is not a good option here. Even if it’s not directly in front (sliding to the right), it generates a larger halo, especially on the left side of the front cover. While these halos can be corrected in the .dng files, it’s a challenging task. The cover lenses are particularly noticeable in this scenario.
Leaving the sun to the left side of the front lens produces the cleanest shot, in my opinion. Everything in the image is well-illuminated. There is also a shadow on the opposite side of the camera (the back right side), which may be due to the camera’s characteristics, but it’s not as random as in the other shots. As mentioned, the .dng format allows for better correction. However, many people directly use the pureshot images.
The last scenario, leaving the sun in front of the back lens, results in a very poor image. The halos around the front lens are highly noticeable, and it even creates additional halos in the back lens. However, if you are looking for a vignetted image just in front of your 360 shot, go for it. This is the way to go.
Here, I leave you with the Marzipano tool where you can check and pan through the photos.
Conclusion
In my opinion, considering the little exercise we conducted here, the best shot is the one with the sun positioned to the side, in front of the lens. It might be worth investigating whether those shadows are a result of the camera’s characteristics and if they are accentuated due to the lens guards and the pureshot processing of the Insta360 Studio.
I hope this has been interesting to you. Feel free to share it. Just that alone can help us a lot. Contact me if you need additional advice on this type of production cameras, landscape analysis, and photography for projects.
Looking forward to keeping in touch.

