Creating Dynamic Wind Turbines with Blender
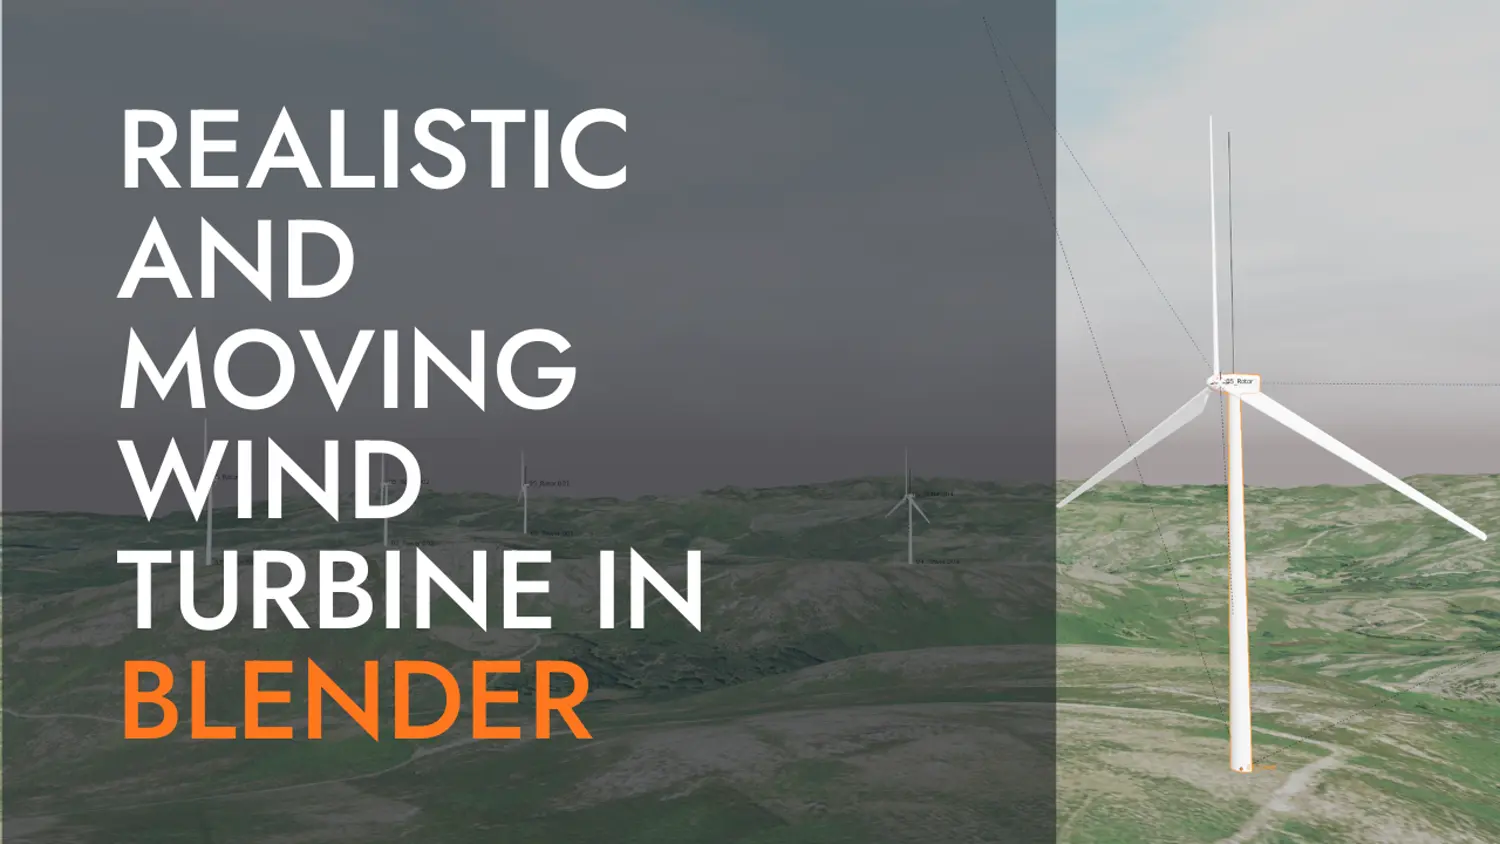
Looking to bring wind farms to life in your Blender projects? In this tutorial, we'll guide you through the process of using Blender's tools to create dynamic wind turbines. By following the steps outlined in this video and blog post, you'll learn how to transform an inanimate object into a dynamic one, create a detailed 3D model of a wind turbine, and add realistic rotation and movement to create visually compelling wind farm scenes. Whether you're working on a renewable energy project or simply looking to improve your visualization skills, this tutorial is sure to provide valuable insights and techniques for modeling techniques, topology, geometry, UV mapping, texturing, materials, lighting, camera, composition, camera tracking, and rendering. With the knowledge gained from this tutorial, you can apply these techniques to your own projects and make them stand out. Content:The objective of this video is to render a digital terrain model along with dynamic wind turbines. The goal is to showcase some of the simple Blender tools that allow for the transformation of an inanimate object into a dynamic one, in this case, the blades of a wind turbine. Our base model is the Vestas V150, with a 150m rotor diameter or 75m blade length.
The process:
The general order of the process is as follows:
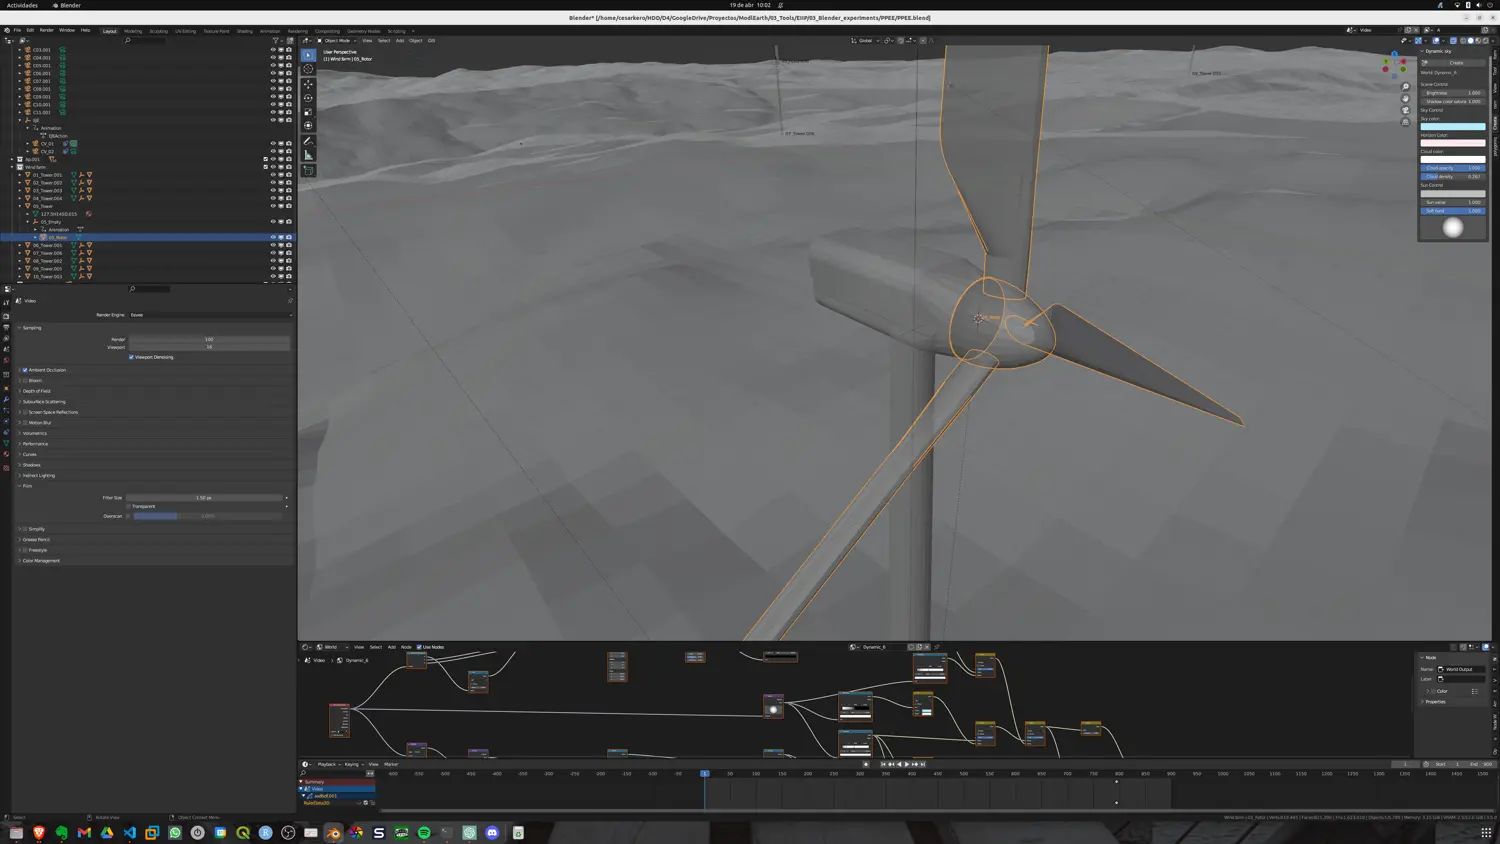
- Select the part of the object that we want to separate from the rest to animate it.
- Separate the piece of the object: Mesh –> Separate
- Once separated, establish a new origin for the object, in this case, the center of the rotor circle at the connection point with the nacelle.
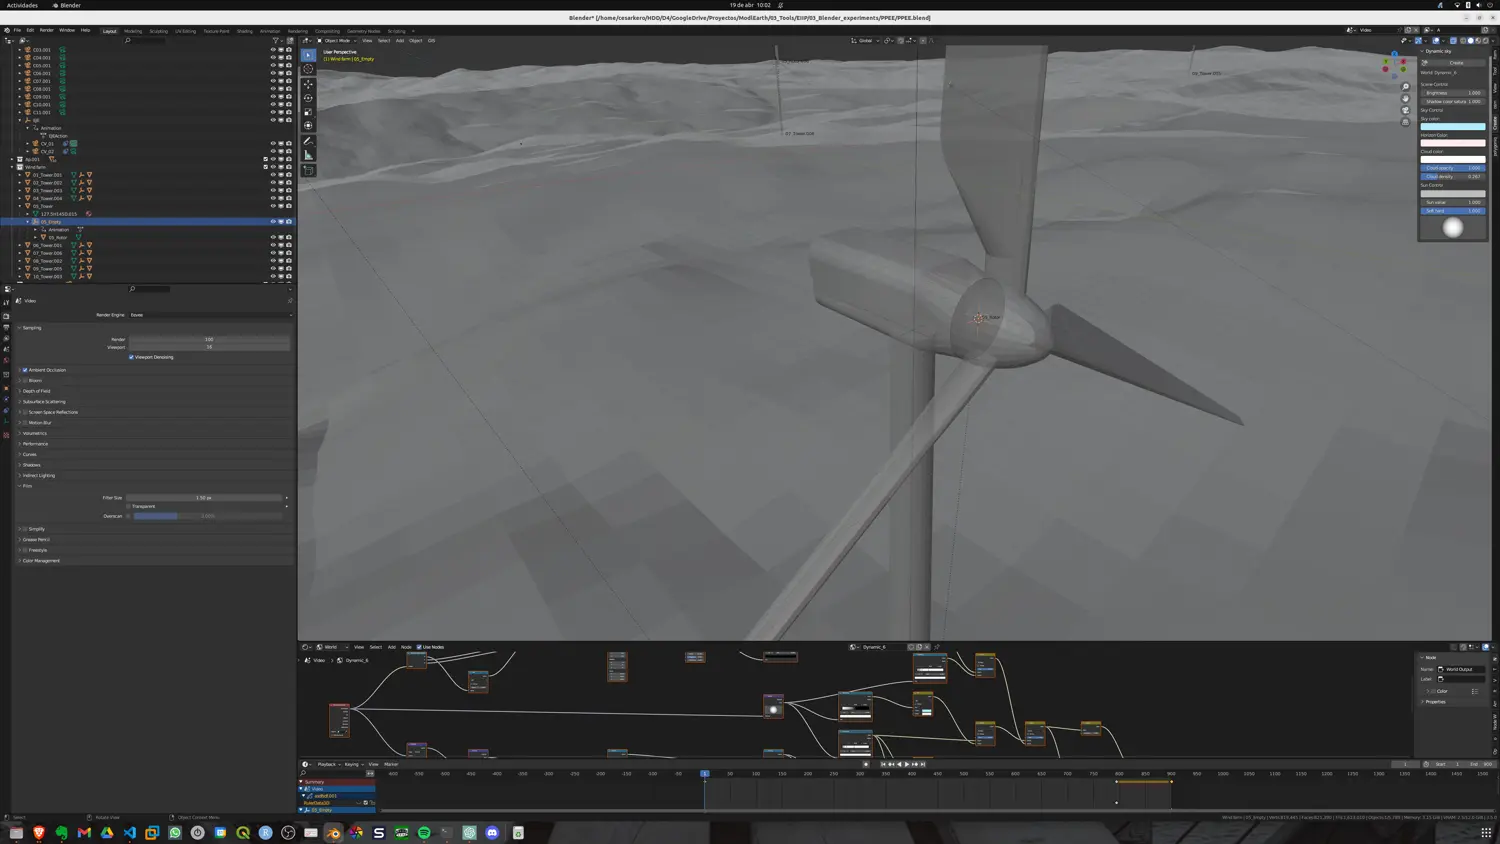
- Create an empty that will serve to anchor the rotor and rotate it in place. On this axis, we will calculate the rotations to make a realistic rotor spin.
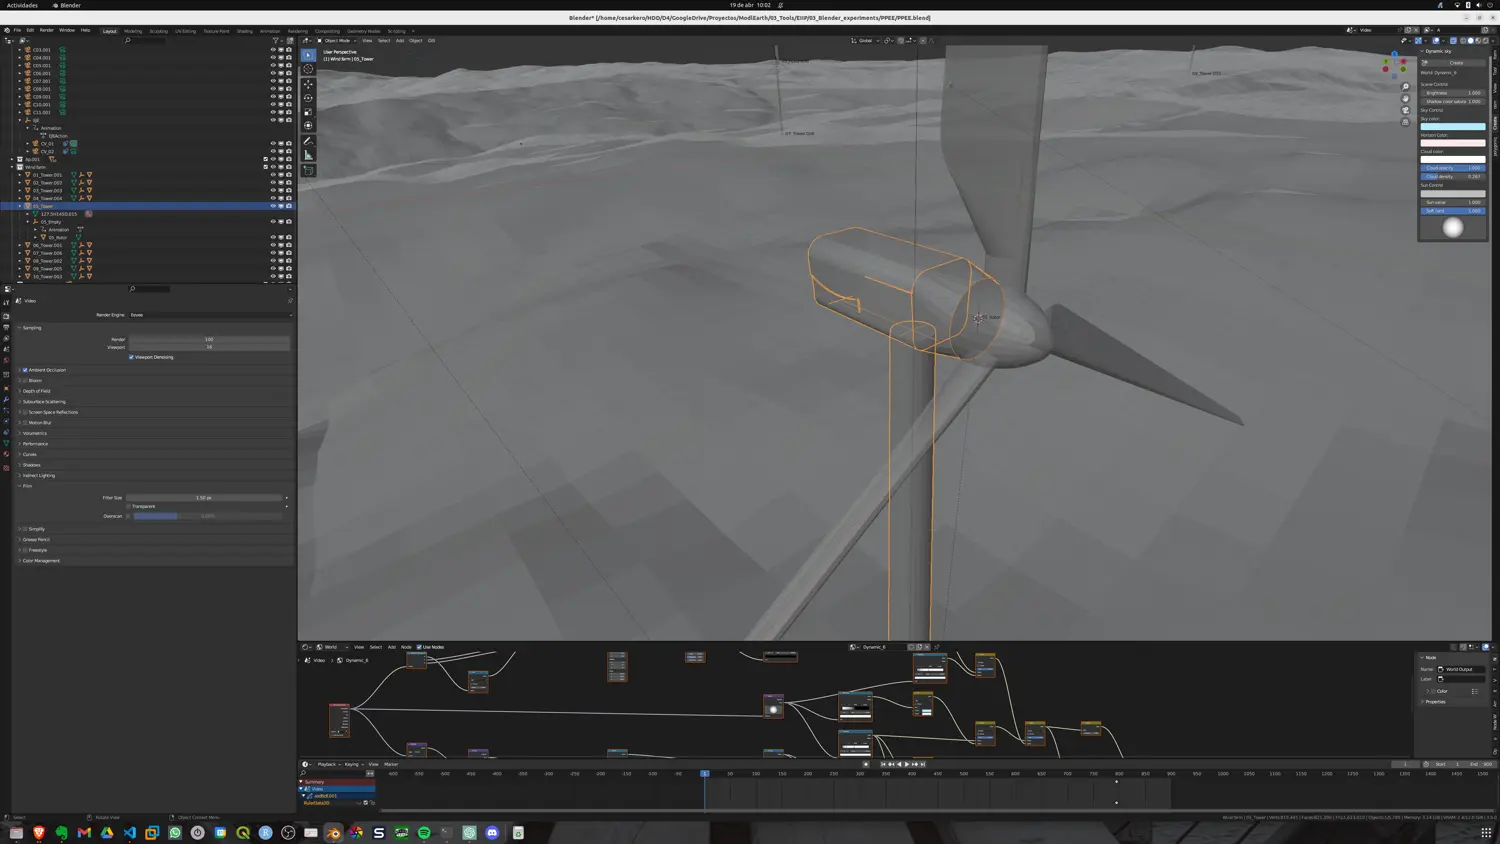
- Parent the objects with the following hierarchy:
- Tower
- Empty
- Rotor
- Empty
- Tower
- Look up on the Vestas website the average rotor speed. Better yet, try to see if ChatGPT can provide us with the data directly. I should note that in the video, I did the calculations, but I tested ChatGPT by providing the data in the form of a math problem, and it solved it…
- Once the correct rotor spin is established, we need to multiply the “loaves and fishes” to create the example wind farm.
- The cameras are already configured to track one of the wind turbines’ rotors and rotate 360 degrees around the object during those 30 seconds of video.
- Finally, establish the rendering parameters (so that it doesn’t take forever), and that’s it.
In summary, this video tutorial provides a simple demonstration of how to use Blender’s tools to create dynamic wind turbines that can be used in various projects. By following the steps outlined above, you can create a realistic and compelling representation of a wind farm that can be used to promote the benefits of renewable energy.
This simple approach can be used to improve landscape analysis and rendering of renewable energy projects, or any other kind of project that involves the dynamic movement of objects. By using Blender’s tools, it’s possible to create realistic and visually compelling animations that can help promote a project’s message and benefits. With the knowledge gained from this tutorial, you can apply these techniques to your own projects and make them stand out.
The video
Thank you for watching this tutorial on creating dynamic wind turbines with Blender. We hope you found it informative and valuable in your 3D modeling and visualization projects. By following the steps outlined in this tutorial, you can create realistic and visually compelling wind farm scenes to promote the benefits of renewable energy. Don’t forget to like and subscribe to our channel for more tutorials and tips on Blender and 3D modeling. Happy blending!
